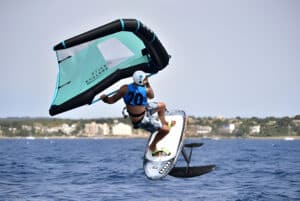
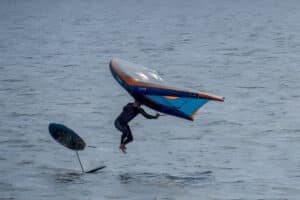
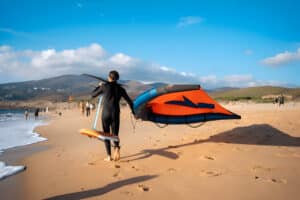
Learning wing foiling involves mastering the basics of wind-powered water sports and hydrofoil technology. To start, familiarize yourself with the equipment, including the wing, foil board, and hydrofoil. Begin in ideal conditions with moderate wind and calm waters.
Practice kneeling starts, standing up, and getting on foil before progressing to riding on foil. As a beginner, focus on safety, proper technique, and gradually building your skills through consistent practice and patience.
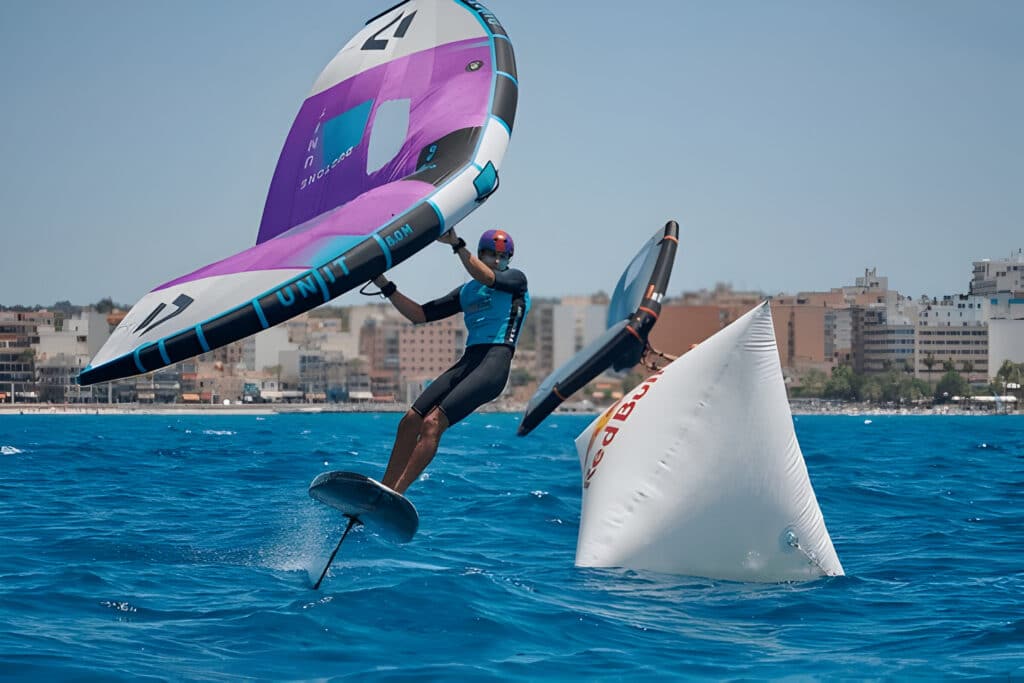
What Are the Best Conditions to Start Wing Foiling
Wind Strength
For beginners, the ideal wind strength for wing foiling ranges from 12 to 18 knots. This range provides enough power to lift the wing and generate forward momentum without overwhelming novice riders. At this wind speed, learners can practice basic techniques and maintain control of their equipment.
It’s crucial to avoid attempting wing foiling in winds exceeding 20 knots until you have reached a decent level of proficiency. Stronger winds can make it challenging to manage the wing and increase the risk of accidents for inexperienced riders.
Wind Direction
The most suitable wind direction for learning wing foiling is onshore or side-shore winds. These wind patterns allow beginners to practice in shallow water near the beach, providing a safer environment for learning. Onshore winds also help push riders back to the shore if they lose control, reducing the risk of drifting out to sea.
Side-shore winds are particularly beneficial for practicing riding up wind and down wind. This skill is essential for maintaining position and returning to your starting point. As you progress, you can experiment with different wind directions to improve your overall wing foiling abilities.
Swell
For beginners, calm waters or minimal swell conditions are ideal. Flat water allows learners to focus on mastering basic techniques without the added challenge of wave navigation. Small, consistent swells up to 1-2 feet can be manageable for intermediate riders, providing an opportunity to practice in varied conditions.
Assessing the Spot
When choosing a location for wing foiling, consider the following factors:
- Water depth: Look for areas with suitable water depth, ideally waist to chest deep. This depth allows for easy standing and recovery if you fall.
- Obstacles: Ensure the area is free from rocks, reefs, or other water users that could pose a safety risk.
- Beach access: Select a spot with easy beach access for launching and landing your equipment.
- Local regulations: Be aware of any restrictions or designated areas for wing foiling at your chosen location.
What Equipment Do You Need to Start Wing Foiling
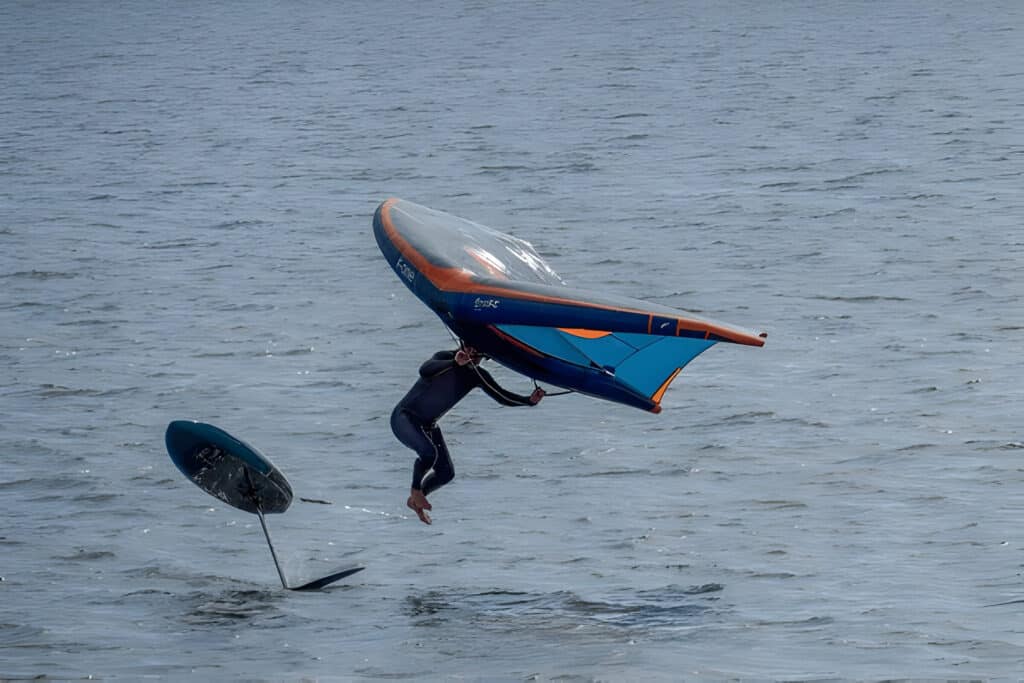
To begin your wing foiling journey, you’ll need the following essential equipment:
- Wing:
The wing is a crucial component for wing foiling. Choose a wing size appropriate for your weight and skill level. Beginners typically start with larger wings (5-6 meters) for easier handling and more stability. - Foil Board:
Look for a board with plenty of volume, typically 100-120 liters for most riders. A floaty board helps with balance and makes getting up on foil easier. Wing foil boards are specifically designed for this sport and offer the best performance. - Hydrofoil:
The hydrofoil consists of a mast, fuselage, and wings. For beginners, choose a hydrofoil with:
- A shorter mast (60-70cm) for easier control
- A larger front wing (1500-2000 cm²) for more lift and stability
- A longer fuselage for increased stability
- Safety Gear:
- Personal Flotation Device (PFD)
- Helmet
- Impact vest
- Wetsuit or rashguard (depending on water temperature)
- Leash for both the board and wing
- Pump:
An electric or hand pump is necessary to inflate your wing before each session.
Basic Wing Foiling Technique
Kneeling Start
The kneeling start is a fundamental technique for beginners learning wing foiling. To execute this technique:
- Position yourself in shallow water, ideally waist-deep, with your board and wing.
- Place the board perpendicular to the wind direction.
- Kneel on the board, positioning yourself slightly behind the center.
- Hold the wing with your hands on the front handle and boom.
- Lift the wing to catch the wind and generate power.
Foot placement is crucial for balance and control. Keep your feet close to the centerline of the board, with your front foot positioned near the mast base.
Standing Up
Once you’ve mastered the kneeling start, progress to standing:
- Begin in the kneeling position with the wing generating power.
- Shift your weight onto your front foot.
- Gradually stand up, keeping your knees slightly bent for stability.
- Maintain a low center of gravity to improve balance.
Practice this transition in calm waters before attempting it in more challenging conditions.
Getting on Foil
To transition from riding on the board to foiling:
- Gain speed by pumping the wing and board.
- Shift your weight slightly forward to lift the rear of the board.
- As the foil begins to lift, adjust your weight distribution to maintain balance.
- Keep the wing powered to maintain lift and speed.
The mast length plays a crucial role in this phase. Beginners often start with shorter masts (40-50cm) for easier control and less dramatic lift.
Riding on Foil
Once you’re foiling, focus on maintaining stability and control:
Adjust the wing’s angle to manage power and speed.
Keep your knees slightly bent to absorb any chop or turbulence.
Use subtle weight shifts to control the board’s pitch and height.
Tips for Beginners
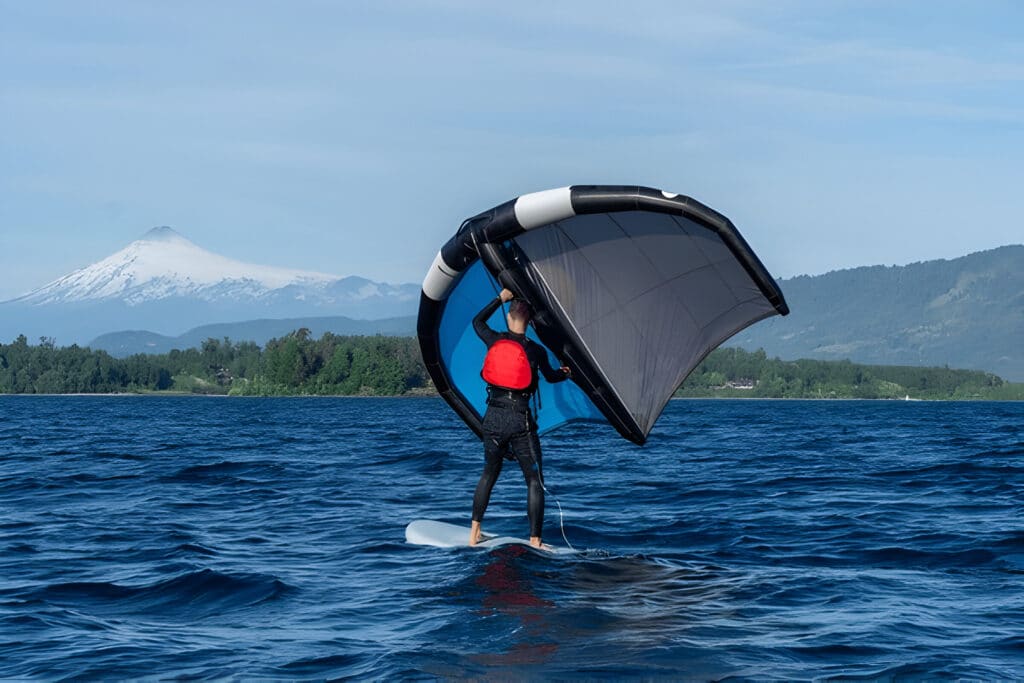
Learning wing foiling can be an exciting and rewarding experience for those new to the sport. Here are some essential tips to help beginners get started:
- Choose the right equipment: Select a stable foil board (100-120 liters for beginners) with a daggerboard and a suitable wing for your weight and skill level.
- Practice in shallow water: Begin in calm, shallow areas to build confidence and maintain control while learning basics.
- Choose the right conditions: Start in light winds (10-15 knots) and flat water, progressing to stronger winds and small swells as you improve.
- Use a shorter mast: Start with 40-50cm masts to reduce injury risk and make foil control easier.
- Learn to ride upwind: Practice riding your board upwind before attempting to foil to avoid drifting downwind.
- Gradually progress to foiling: Slowly transition to getting on foil, starting with small lifts and increasing foiling time as you gain confidence.
- Watch instructional videos: Use online resources and detailed videos to supplement your learning with tips from experienced riders.
- Practice safety: Always use appropriate safety gear and maintain a safe distance from obstacles and other water users.
- Be patient: Developing wing foiling skills takes time; focus on incremental progress and enjoy the learning process.
FAQs
Who Can Wing Foil
Wing foiling is suitable for anyone with a reasonable level of fitness and swimming ability. Prior experience in surfing, windsurfing, or kiteboarding is beneficial but not essential.
Should You Ride Your Foil Board with Foot Straps
Foot straps are optional but recommended for advanced riders seeking enhanced control and performance. Beginners should learn without straps initially.
Can You Teach Yourself to Wing Foil
Self-teaching is possible, but professional instruction is highly recommended for safety, proper technique, and faster progression.
Is Wing Foiling Hard to Learn
Wing foiling has a steep learning curve compared to other water sports.
How Long Does It Take to Learn How to Wing Foil
Learning times vary, but most people can ride confidently after 10-20 hours of consistent practice over multiple sessions.
Conclusion
Wing foiling offers an exhilarating water sport experience for those willing to learn. By understanding the ideal conditions, acquiring the right equipment, and mastering basic techniques, beginners can quickly progress in this exciting activity. Remember to prioritize safety, practice patience, and embrace the learning process. With dedication and the tips provided, you’ll soon be gliding across the water, experiencing the unique thrill of wing foiling.

